The PDF printer does not support the back-to-front page order option in the Windows printing dialog. However, if you are printing to PDF and need to print the pages from back to front, you can reverse the page order by running an additional tool after the PDF is created.
After successfully creating the PDF, you can configure the PDF printer to run a command line. Therefore, you can find a command line tool online to reverse your page order and run it after the PDF is created.
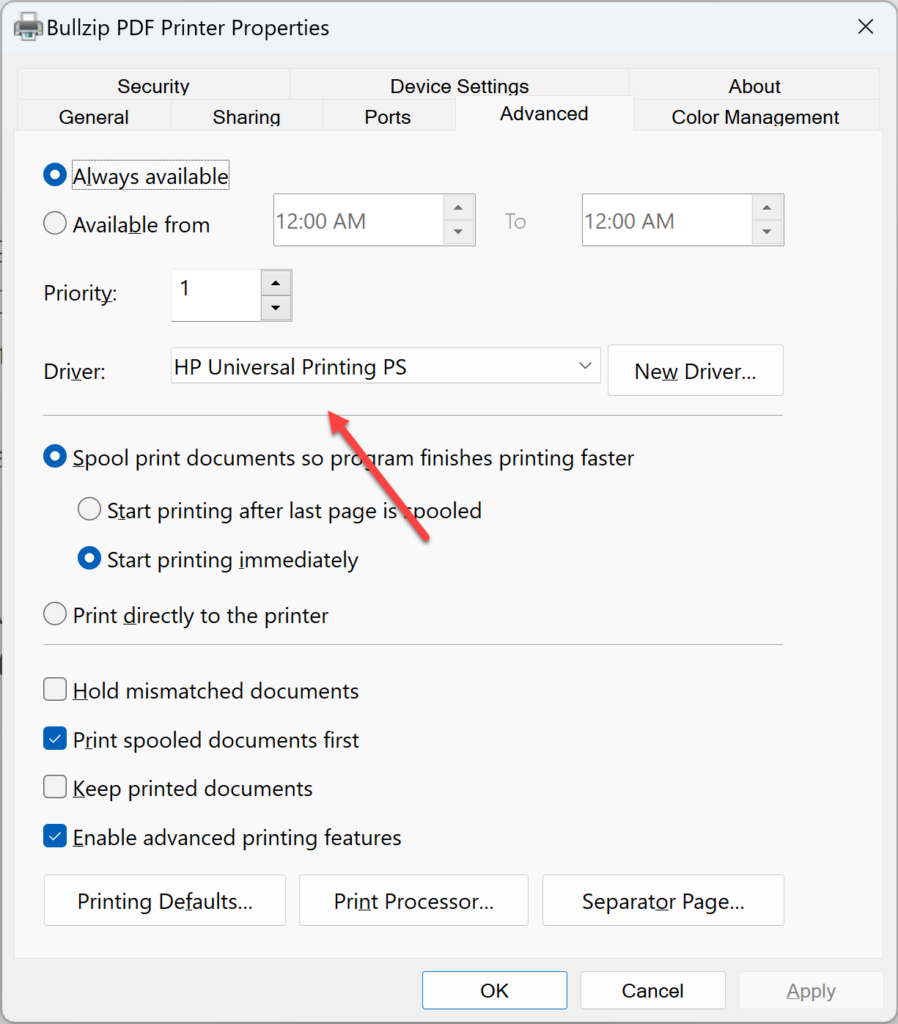
The default printer driver used with the Bullzip PDF Printer does not support scaling of the printed content. If you want to scale the output, you should replace the used driver with a driver that supports scaling.
The HP Universal Printing PS driver supports scaling and can be used with the Bullzip PDF Printer.
After installing the HP Universal Printing PS driver, you can switch the driver in the Windows dialog for advanced properties for the printer.
Changing the driver will also change the name of the printer. Make sure you go back to the general tab and change the name back before you press OK.
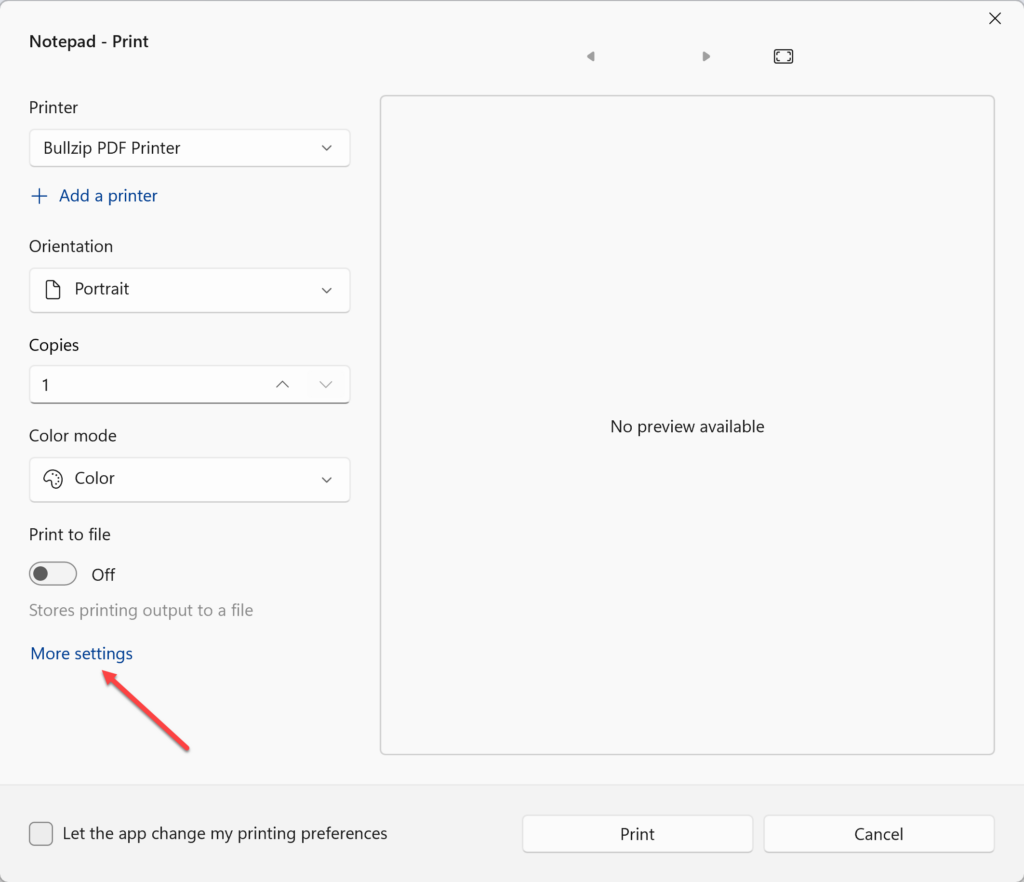
Next time you print to the printer, the Windows printing dialog will bring up the driver specific dialog with the HP features. Click More settings when you print to open the driver extra features.
How do you set up the default save location for your PDF documents? This is a common question we get from the users of the PDF printer.
The answer is simple, and the possibilities are endless if you want to do advanced stuff.
First the simple answer
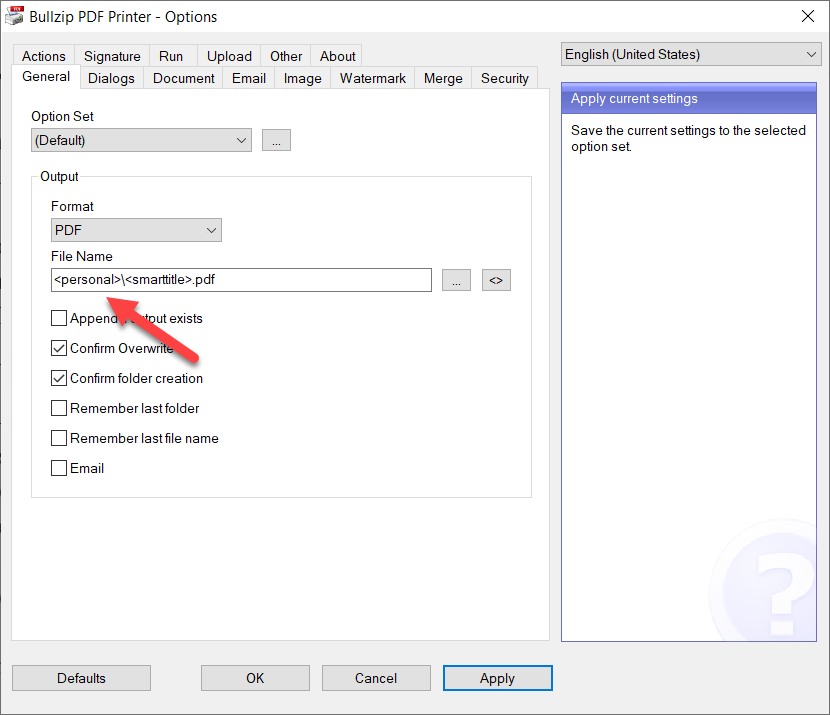
You simply open the Options dialog from the Start menu. In there you change the File Name setting to your preferred location and file name.
When you specify the output path, you can use Macro Tags to make the file name Macro Tags to make the file name a bit more flexible. These tags are substituted with dynamic values that may depend on the current date and time or settings on your specific machine. It can also get information from the print job or even run a script.
The most used tags include <desktop>, which points to the location of the desktop, or <personal>, which is your personal documents folder on the machine.
This is what it looks like:
Setting a default PDF file name
Now, the advanced answer
The macro tags can tap into information such as environment variables, system time, print job information, counters, unique id generation, and running scripts.
You can learn more about these macros at the BioPDF web site.
Information about the default save location is stored in the Output setting in the configuration files.
What about the name of the source document?
Users ask us why there isn’t a macro for the name and location of the source document. For example, this could be the docx file printed from Microsoft Word or a text file in Notepad.
The problem is that we need to know the source document’s file name. Unfortunately, all the printer see is a print job, which does not contain information about its origin. Instead, it has a limited set of properties set by the printing application. These include the author and the document name, but it is entirely up to the printing application to set those to something meaningful, and again, the source file name and location are not among them.
Sometimes you get unexpected results when you use a PDF document as a background.
A PDF used as a background in a merge or superimpose operation is often referred to as the letterhead, watermark, logo, or briefpapier (in German). These documents can have properties that make them unsuited for this purpose. Among the common problems are font, color model, and transparency issues.
The result of using a problematic PDF is often strange colors or strange-looking text.
Normally, you can clean the PDF by printing it to a new PDF. This process can rewrite the structure of the document so that it can be used in the merge or superimpose operation.
A method that often works is to open the PDF in Adobe Reader and print it to a Bullzip PDF Printer installed in XPS mode. The method is not bulletproof but is often a good first try.
Text that looked strange before will most likely be fixed. However, you may not be able to select and copy/paste it as text anymore. Also, colors are now likely to be close to the original but there may still be small differences.
You can play around with this process to see if you can get a better result. Here are some parameters that you can test with different values.
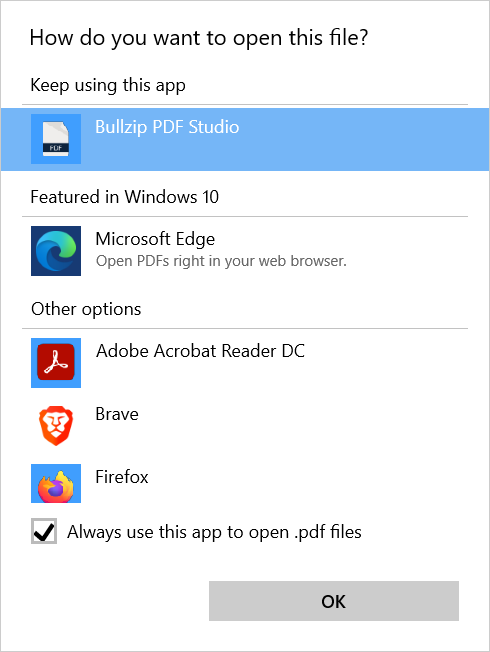
Try to print it from other PDF readers such as Bullzip PDF Studio or Sumatra PDF.
DPI and color models.
Print quality setting on the document tab.
It is often a combination of printing the PDF from a specific PDF viewer to a specific PDF printer that will remove the commands that are causing the problem.
Here are some PDF viewers to try:
Bullzip PDF Studio
Adobe PDF Reader
Sumatra PDF Reader
Combine that with printing to one of these PDF printers:
Bullzip PDF Printer
Bullzip PDF Printer in XPS mode
Microsoft Print to PDF
If you cannot fix the PDF yourself, then it may be an option to go back to the designer and have them try to create a PDF without transparency and special font information. It may be that they can change some settings in the PDF export that will fix the problem.
When you install the PDF printer, the setup program will try to decide which default printer settings are best for you. It will look at the country code of your computer and determine if the default paper size should be A4 or Letter. It will also set things such as the default printer resolution in DPI and other stuff.
Some of these settings can be set to specific values during the installation using the command line switches for the setup program. You can also change the default settings after the printer is installed. Here is how you can do that.
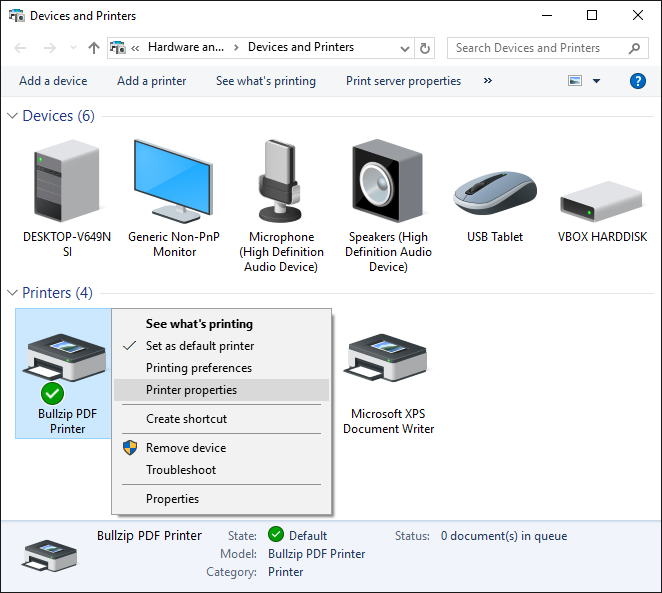
First you go to the Devices and Printers window in your control panel. You right click the PDF printer and select Printer properties.
In the dialog for printer properties, you click the Printing Defaults button on the Advanced tab.
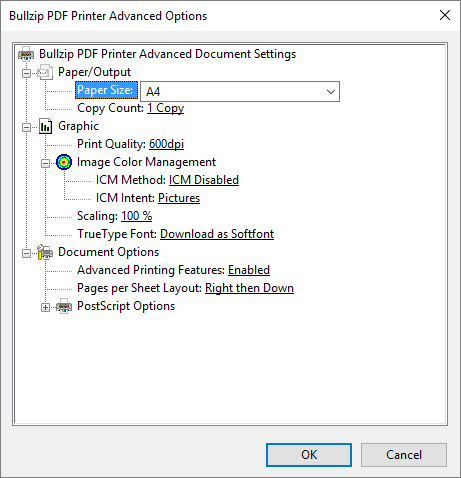
This brings up a new dialog where you can set paper orientation and some other things.
From here you can click the Advanced button and get even more choices such as pater size.