Font problems in PDF document

Sometimes you can experience font problems when printing to PDF. Many different problems can cause fonts to be missing, render as boxes or look like strange unknown characters or artifacts. Usually font problems are related to specific application. Some applications may be using the Windows print system in a different way than other programs. This can cause font problems that only occurs when printing from these systems. Here are some tips on what you can try to solve the font problems.

Embedding fonts in your PDF

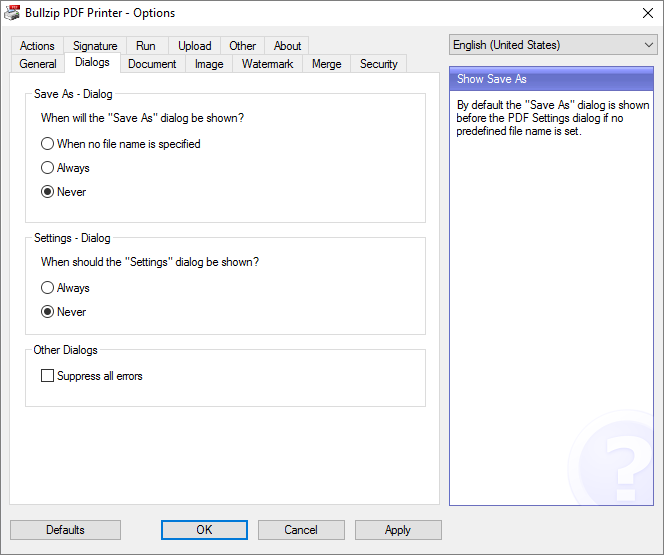
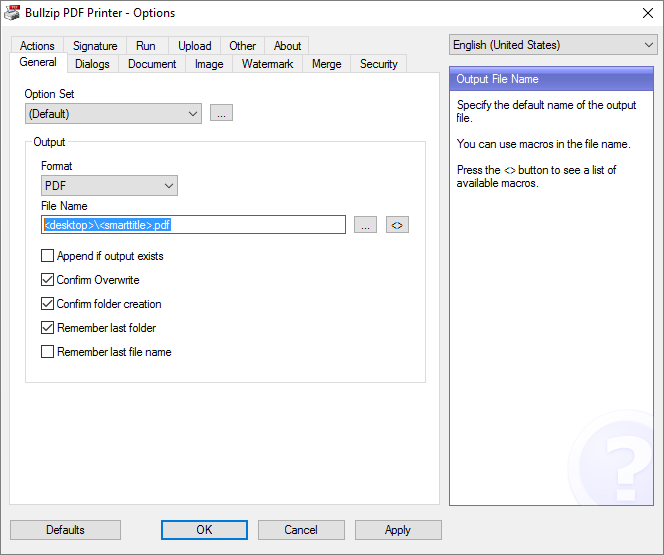
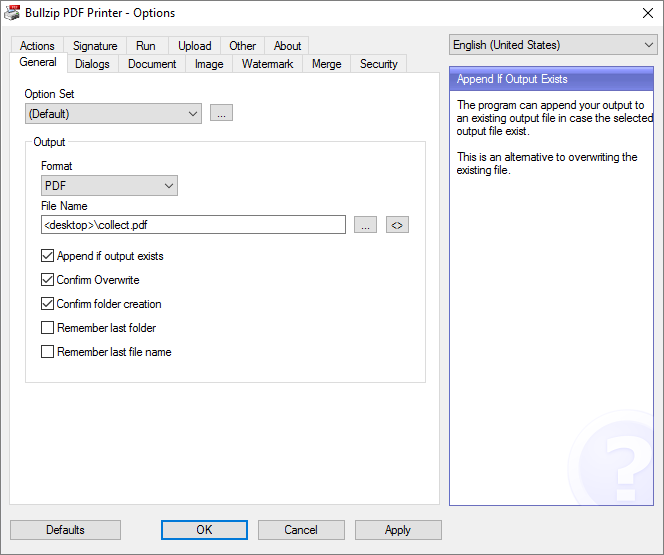
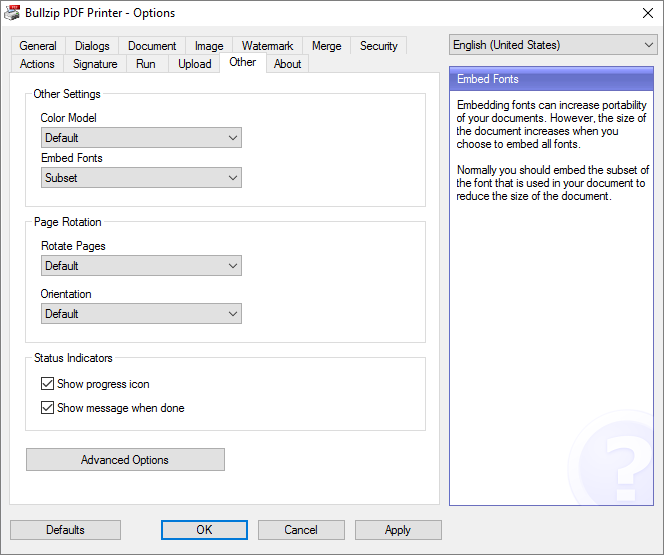
The PDF printer supports different levels of font embedding. When you embed a font in your document then the information about the fonts are saved with your PDF file. When fonts are not embedded then the PDF may show strange things such as small squares or nothing at all when you open the PDF. By default, the printer embeds the characters that are used from the fonts in the PDF. You can change this setting from Subset to All and hope that the extra font information solves a font problem that you may be experiencing. Font embedding is changed in the Options dialog.

TrueType Font Download Option

The second thing you can try is to change the TrueType font download option in the printer’s advanced settings. It is set to Automatic by default but changing it to outline may solve the missing fonts problem.

Normally, you can get to this dialog when you print. In the Print dialog where you select a printer there is a button named Preferences. Click that button and then click the Advanced button.

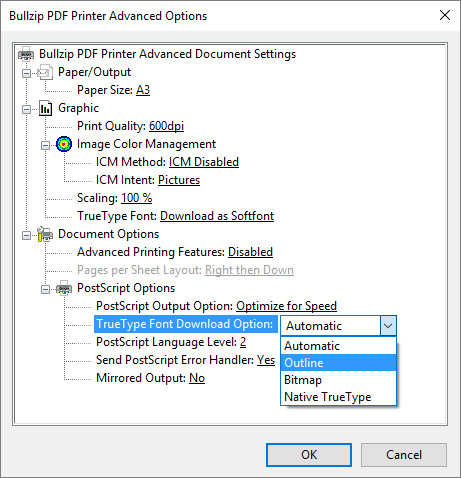
If you want to change the default behavior to outline then you should open the Advanced Options dialog from the printer properties in your list of printers. On the Advanced tab, you can set the printing defaults.

Printer Options Dialog

The printer’s options dialog is where you configure all the default settings for the PDF printer.

Once the dialog is open, you can start changing the default values. Click Apply or OK to save the changes.

Opening the options dialog

You open the options dialog from the Windows Start Menu.

Windows 11

In Windows 11 the start menu has a link to the options dialog. Start typing Bullzip PDF Options and it will find the application.

PDF options in Windows 11 start menu

Windows 10

In Windows 10 you can open the start menu and start typing the word options. Then it will show up in the list.

PDF options in Windows 10 start menu

Windows 7

In Windows 7 you can also find the options dialog in the start menu. Browse to the Bullzip folder and click the PDF Printer menu entry.

Once the dialog is open, you can start changing the default values. Click Apply or OK to save the changes.

Paper Trays on the PDF Printer

By default, the PDF printer does not have any paper trays installed. However, you can add virtual trays to your PDF printer if you want.

In this example, we will add 5 trays for debugging purposes. The trays will be named Tray 1 through 5 and they will each add the tray name to the printed page.

To install the trays, you simply add the following lines to the end of the printer’s PPD file:

*InputSlot Tray1/Tray 1: "gsave /Times-Roman findfont 30 scalefont setfont newpath 10 10 moveto 1 0 0 setrgbcolor (Tray 1) show grestore"
*InputSlot Tray2/Tray 2: "gsave /Times-Roman findfont 30 scalefont setfont newpath 10 10 moveto 1 0 0 setrgbcolor (Tray 2) show grestore"
*InputSlot Tray3/Tray 3: "gsave /Times-Roman findfont 30 scalefont setfont newpath 10 10 moveto 1 0 0 setrgbcolor (Tray 3) show grestore"
*InputSlot Tray4/Tray 4: "gsave /Times-Roman findfont 30 scalefont setfont newpath 10 10 moveto 1 0 0 setrgbcolor (Tray 4) show grestore"
*InputSlot Tray5/Tray 5: "gsave /Times-Roman findfont 30 scalefont setfont newpath 10 10 moveto 1 0 0 setrgbcolor (Tray 5) show grestore" 

The PPD file is normally located here:

C:\Windows\System32\spool\drivers\x64\3\BULLZIP.PPD

Just save the changed the PPD file. Windows will automatically detect the change and use the new settings.

When you print from a program like Notepad and select Tray 3, you will see something like this:

pdf-printer-trays
PDF Printer Trays in Page Setup

Note: Paper trays are also called paper bins or paper sources.

Hide the print dialog

One of the great features of the PDF printer is that you can automate a lot of things. Hiding the print dialog is one of the popular things. It is very easy to do that. All you have to do is follow the steps listed in this article.

Open the options dialog

You can open the options dialog from your Windows start menu. This is where you set all the default values that are used when the printer is activated.

On the Dialogs tab you can specify when the dialogs should be shown. There are two dialogs: A Save As, which can be shown to just get a file name from the user. The settings dialog is the full dialog, which shows all the available features to the user. The dialogs will remain hidden if you set both settings to never.

Specify a File Name

When the saving is automated then it needs an automatically generated file name. By default, the printer will save a document on the user’s desktop and create a name based on the document title in the print job. There are lots of different macros that you can use to create names automatically.

You can also remove the Confirm Overwrite and Confirm folder creation to silence it even more.

Click OK to save the settings for the next print job.

Keywords: hide, interface, GUI, options

PDF is printed as an image

When you print to PDF from some programs, you end up with a PDF that looks like a printed image instead of text. In a PDF like that, you cannot select or copy text because the PDF reader cannot determine what is text and what is graphics.

This situation occurs when the printing program sends everything to the PDF printer as an image. The recent versions of popular browsers such as Firefox, Google Chrome, and Opera does this. There is nothing much you can do about this other than trying to use another program to print. Try using the Microsoft Edge browser or Internet Explorer. They both print the text as text so that you can select it and search it in the PDF.

Adding a printer manually

Sometimes the installer fails to add the PDF printer to your list of installed printers. There can be many reasons for that. Maybe your system does not have the normal drivers available because your system administrator deleted them to save disk space. Maybe your spooler service is disabled for some reason or other things could be the problem.

When you troubleshoot the printer installation, it can be a good test to see if you can install the printer manually through the normal Windows interface to do so. This article will show you the steps to do that on a Windows 10 system. Most other versions of Windows have similar dialogs but they may look slightly different.

Open your Devices and Printers window.

Click the Add a printer menu item.

Click The printer I want isn’t listed

Add a local printer

Choose the BULLZIP port

Locate the Microsoft PS Class Driver and select it.

Replace the driver if needed

Name the printer

Finding the installation log file

In case the installation of the PDF printer runs into problems it can be useful to send the installation log to our support. You can locate the installer log in your folder to temporary files. To get to that folder you simply enter %temp% in the address bar in your Windows File Explorer.

After you hit enter, you are taken to the folder for temporary files. Look for a file named Setup Log plus the date.

Once it is located, you can easily attach it to an email.

Additional PDF printers with custom names

Sometimes it can be useful to have multiple PDF printers with different configurations. This is possible and here is how.

When you want to have an additional printer installed you should run the setup program with the /PRINTERNAME command line switch. Please note that the PDF printer will stop working if you rename the printer after it is installed. Therefore, it is necessary to install the additional printer using this switch.


This command line will install a second PDF printer named My second PDF printer. After it is installed, you can configure it using the options dialog from the start menu.

Append to PDF without dialogs

This article outlines how you can use the PDF printer to continue to append to the same PDF document without showing any dialogs when you print.

The first step is to open the options dialog from your start menu. This is where we set the default settings for the printer.

You should define an output file name. This is the file that will collect our print jobs over time. Each time you want to start over, you should delete this file. In addition to that you enable the Append if output exists.

On the Dialogs tab, you select never and never to hide all the dialogs.

Select no in Open the document after creation to prevent the PDF from opening when the print is finished.

That is all. Now you can print to the PDF printer and it will continue to build you collect.pdf on your desktop.

If you is something you need on a regular basis, you can install a second PDF printer with another name and configure that to collect the print jobs.